Selecting Paint and Flooring Options
Placez makes it easy for you to create great-looking room designs - ensuring thatyou are not only choosing the right colors for your interior walls but that you are also choosing colors that will coordinate from room to room. Additionally, you can add photo-realistic textures to your floor design such as brick walls, hardwood floors, carpeting, and more.
- If you do not already have a floorplan open, click or tap the Place Library sidebar option
 on the left-hand side of your screen, click/tap the arrow button
  at the right of a "place" or venue to open it and click the floorplan at the lower left to which you want to add wall or flooring colors.
 - Click/tap the Swith to 3D button
 in the sidebar on the left of the screen.
 - Click/tap the Edit button
 , located on the upper left-hand corner of your screen.
 - Click/tap a wall or floor in your design.
Result: The Wall or Floor panel opens on the right-hand side of your screen.
Note: These panels function similarly but one applies to walls only and one to floor only.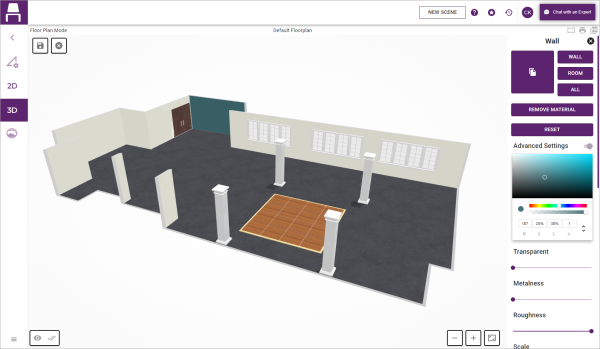
- In the Wall or Floor panel on the right side of the screen, choose the desired color or texture for the currently selected wall/floor in one of the following ways:
- Selecting a Standard Color
Click directly into the color palette within the Wall Colors pane to select a color.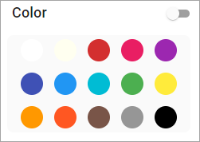
- Selecting a Custom Color
Click the slider toggle to the right of Advanced Settings to enable that feature and then select a custom color or enter a custom HEX/RGBA/HSLA color value.
Note: To change color value, click the up/down arrows to the right of the HEX value field.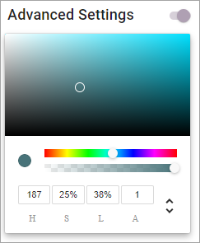
- Selecting a Texture
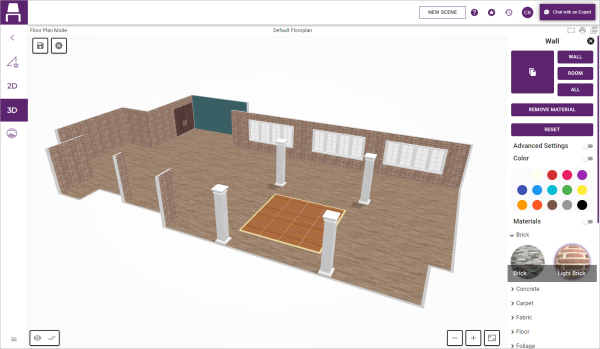
Click the slider toggle to the right of any group listed under Materials and choose the desired material.
Note: You can apply color to your texture by selecting colors as described above. You can also change such settings as "roughness" and "scale" under the Advanced Settings area.
- For walls, repeat as desired for other walls - or copy the color/texture to another wall, another room, or all walls. (See the "Copying Colors and Textures" section, below.)
- When finished, click the Save button
 to save changes.
- Follow Steps 1 through 5 from the topic above, "Setting the Wall/Floor Color or Texture."
- Click/tap the wall with the color or texture you would like to copy.
- Click/tap the Copy button
 , located in the Wall panel on the right of the screen.
 - If copying the color or texture to a single wall, click/tap the desired wall and click/tap the Wall button in the Wall panel on the right of the screen.
- If copying the color or texture to a room, click/tap the desired room, then click/tap the Room button.
- If copying the color or texture to all walls within your design, click/tap the All button.
- Click or tap the specific wall you would like to make invisible.
- Scroll to the very bottom in the Walls panel on the right side of the screen.
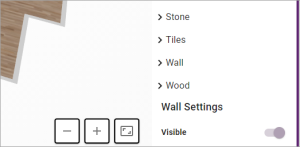
- Click/tap the Visible toggle, located at the bottom of the Walls panel.
Result: The wall will no longer display in your design.
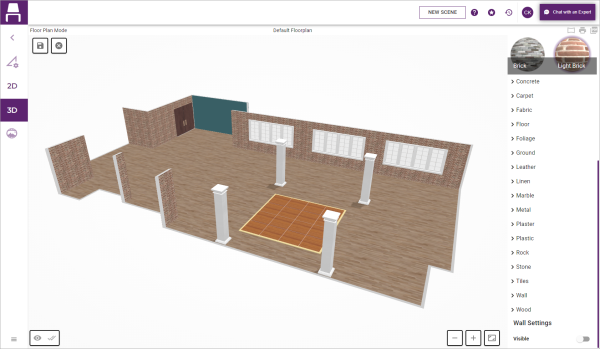
- Repeat Steps 1-3 above to make other walls in your design invisible.
- When finished, click/tap the Save button
 located on the upper left-hand corner of your screen to save your changes.
See Also: